Y'all, I am so excited about this new offer I have for you. Stampin' Up! has always been about coordination. Our inks match our cardstock, which coordinates with our Designer Series Paper, which also matches our ribbons, washi tape, enamel dots, etc. The last couple of years, the Catalogs have featured "Suites" that generally revolve around one of our Designer Series Paper Packs. They've pulled together ribbons, papers, stamp sets and embellishments that all look wonderful together and that helps make your crafting a little easier as there's less decisions to make. (I am definitely one of those who hates making decisions--my handsome hubby can attest to that.) But, buying everything in a Suite can get a little pricey. So, let me introduce you to my Suite Samplings.
What is a Suite Samplings? Pretty much exactly what it says. You will get a sampling of the consumable items in a particular suite PLUS some extra product I've added to help round out your kit and give you the most crafting possibilities (ie, white cardstock, envelopes, etc.) I will feature a different Suite each month. There will be Optional Extras (stamp set, dies, punches, etc.) that you can add on to your order that I will ship out with your Suite Samplings kit. (These will also get you some extra goodies from me.)
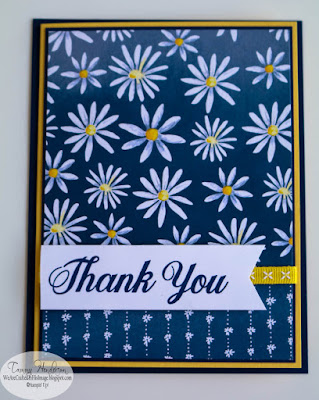
My first Suite Samplings will focus on my favorite Suite in the catalog--Delightful Daisy. This DSP is so pretty and cheerful, and since outside my window it currently looks like this...
...I am personally in need of some springtime flower therapy.
Isn't this a beautiful set? So cheerful and fun.
So, what comes in the kit? Each month will be different, but they will always have a half package of DSP. That means you will get 12 half sheets (6 x 12) of DSP. Why send 12 half sheets instead of 6 full 12 x 12 sheets? Two reasons; one, it will make it easier for me to mail it out to you, and two, you are more likely to use the sheets since they've already been cut. You know we really don't hoard our papers, it's just so hard to make that first cut into that beautiful 12 x 12 sheet. Well, now you won't have that problem because I've already cut it for you. ;o) You're welcome.
 |
| Pretend you see some Delicate Doilies and 2 other ribbons on here. :o) |
Here's what you'll get in the March Suite Samplings Kit.
- 1/2 pack Delightful Daisy DSP cut at 12x6 (2 half sheets of each design)
- 2 sheets each 8 1/2x11 cardstock Calypso Coral, Old Olive, Pool Party, Night of Navy and Daffodil Delight
- 4 sheets 8 1/2x11 Whisper White Cardstock
- 10 Whisper White Envelopes
- 6 Delicate Doilies (pretend you see these in the photo above)
- 1 yd Double Stitched Ribbon Daffodil Delight
- 1 yd Ombre Ribbon Calypso Coral (This one's missing in the photo...)
- 1 yd Gingham Ribbon Night of Navy (...and so is this one)
- 1 yd Mini Chevron Ribbon Old Olive
- 18 Clear Faceted Gems (6 each of 3 sizes)
- 18 Gold Faced Gems (6 each of 3 sizes)
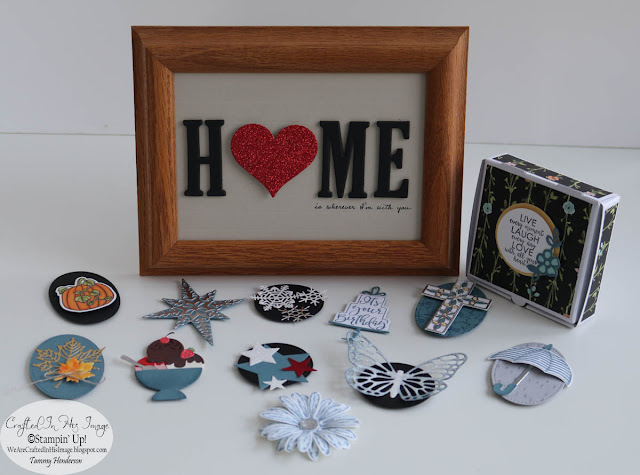
- 4 Mini Pizza Boxes
- Bonus--I will cut and punch out 5 Whisper White tags for you similar to the one you see hanging from the jar in the photo above.
This is what is included in the March Suite Samplings Kit and you get all of this for $20. The retail, if you could get just this amount of each item, is slightly over that and you're not paying for tax or shipping to and from SU. To buy all of this in their full sizes you would pay over $109!! If you are local to me and would like to pick up your kit when it is ready, then $20 is all you will need to pay. If you are not local, see the shipping note below.
Optional Extras:
- Daisy Punch $18
- Daisy Delight Photopolymer Stamp set $17
- Bundle (This includes both the punch and stamp set and is priced at 10% less) $31.50
Bonus--If you purchase either the punch or stamp set I will include 10 3x3 envelopes that fit nicely inside the Mini Pizza Boxes. If you purchase the Bundle (which is both the punch and stamp set), you will get the 10 3x3 envelopes PLUS you qualify for a FREE Sale-a-Bration item. Simply let me know what you would like when you email me.
Shipping Notes:
I took my kit over to the Post Office and worked with the awesome ladies there to find the best and most economical way to ship these kits out to you. I will be able to send them out in a Priority Flat Rate padded envelope for $7.25. So, just to make it a nice round number I will add on $5 for shipping which will make your total $25.
This is only available in the US. You need to email me to order. I will send an invoice and payment will be to me, in advance of the order being placed and sent out.
Deadline for ordering is Monday, March 5th. I will place the order early the following morning and hope to have the packages ready to ship out to you by March 16th (delivery from Stampin' Up! permitting).
I hope you're as excited about this as I am. I will be posting a couple of projects over the next few days to give you some inspiration for the kit. There's SO many things you can make.
HOSTESS CODE CLUB: Please use this month's Hostess Code when you place an order. It will allow me to pick up some goodies to share with you when I send out your Thank You gift at the end of the month. (If you check the "Do Not Contact" button when you order, I cannot legally contact you in any way, which means I cannot send you a Thank You gift or any extra goodies. :o( )


